
Whether you are inside the federal three-day window or months into a bad relationship with a credit repair company, you can get out. The steps differ slightly depending on timing, but the principle is the same: cancel clearly, in writing, with proof. Here is how.
Step 1: Determine Where You Stand
Check the date you signed. If you are within three business days, federal law gives you an absolute right to cancel with no penalty. If you are past that window, you can still cancel the services going forward — you simply lose the special no-penalty protection. Either way, you can stop.
Step 2: Read the Contract’s Cancellation Terms
Pull out your copy of the contract and find the cancellation section. Note any required method — some contracts specify written notice to a particular address. Follow the contract’s method, but also send notice by your own provable method. Belt and suspenders.
Step 3: Write the Cancellation Notice
Keep it short and factual: your name and account number, the date you signed, a clear statement that you are canceling all services effective immediately, and a demand that no further charges be made. If you are inside the three-day window, say so explicitly. Date and sign it.
Step 4: Deliver It With Proof
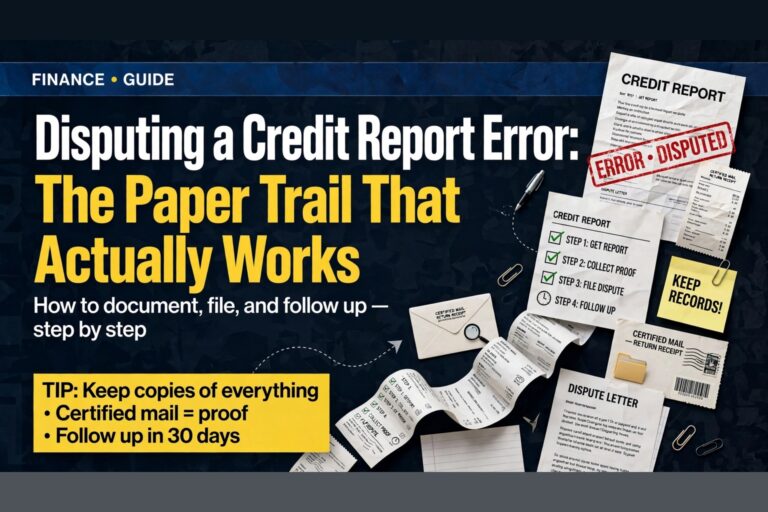
Send the notice by certified mail with return receipt requested to the company’s business address. Email a copy as well, and keep the sent-mail record. If the company has an online cancellation portal, use it too — but never rely on a web form alone without a mailed backup.
Step 5: Revoke Payment Authorization
Contact your bank or card issuer and revoke any recurring authorization for the company. Tell them in plain terms: I canceled this service, do not allow further charges. Ask for written confirmation of the revocation. This step is critical because canceled companies sometimes bill anyway.
Step 6: Confirm the Cancellation in Writing
Ask the company for written confirmation that your account is closed and no further charges will occur. If it refuses or ignores you, your certified mail receipt is your proof. Do not accept a verbal “you’re all set” — get it in writing or treat it as unconfirmed.
Step 7: Monitor and Dispute
Watch your statements for at least two billing cycles. Dispute any post-cancellation charge with your card issuer immediately, providing your cancellation proof. If the company sent dispute letters on your behalf, consider sending a brief note to the bureaus clarifying that you have terminated the relationship.
Step 8: Report Bad Behavior
If the company fought your cancellation, kept billing you, or never had a legal contract to begin with, file complaints with the FTC, the CFPB, and your state attorney general. Your experience becomes part of the enforcement record.
Canceling is your right, not a negotiation. Put it in writing, prove you sent it, cut off the money, and watch your statements. This article is general information, not legal advice.
Canceling When the Company Disappears
Sometimes canceling is complicated by the company’s absence — disconnected phones, dead websites, unanswered emails. This happens more often than you would think in an industry with high turnover. If you cannot reach the company, your obligations do not disappear, but your strategy shifts: document every failed contact attempt, send cancellation notices to every address you have (including the registered business address on file with the state), and focus your energy on the financial side.
The financial side is what matters most. Revoke payment authorizations with your bank or card issuer, dispute any charges, and monitor your statements. A company that has vanished cannot provide services, which means any continued billing is indefensible. If charges persist, your card issuer’s dispute process and a complaint to your state attorney general are your remedies. Keep every record — a vanished company that resurfaces to collect will find your paper trail waiting.
Join the conversation
Load Facebook comments to read and reply using your Facebook account.